Following up on my last session where we built the ultimate “Old School” rig, I wanted to put together a technical Snapper Rigging Guide to show you exactly how to present your bait. It’s one thing to have the right gear, but if your bait looks like a mess or spins in the current, those big reds will swim right past it.
In this Snapper Rigging Guide, I’m going to use a slimy mackerel to demonstrate my preferred head-half technique. This is the exact method I use on my custom-built rod and Shimano Calcutta setup—a combination that has accounted for more trophy fish than I can count.
H2: Gear Selection for a Proper Snapper Rigging Guide
Before we even touch the bait, you need to have the right outfit. I’m a huge fan of the baitcasting setup for this style of fishing. The control you get with a reel like the Calcutta allows you to feel the bait’s every move. This Snapper Rigging Guide focuses on the float lining method, which requires a sensitive rod tip and a smooth drag.
When you’re out on the close reefs, you aren’t just looking for small squire. You want the heavy hitters. That means your rigging needs to be neat, tidy, and—most importantly—smell like a free meal.
Choosing the Right Bait: Head Half vs. Tail
When I am following my own Snapper Rigging Guide rules, I almost always use the head half of the bait. Whether it’s a slimy mackerel or a yakka, the head holds onto the hook much better in high current.
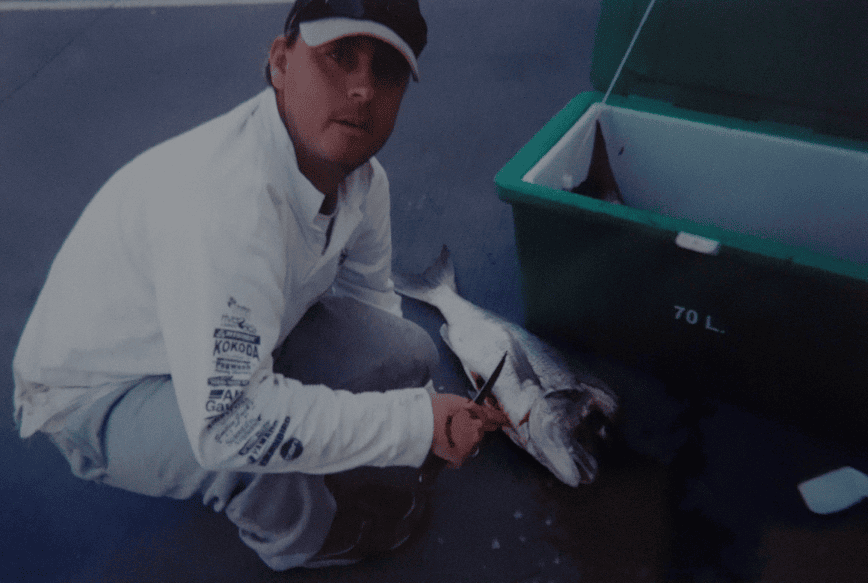
I never run the tails for my primary snapper baits. Instead, I cut the tails off and use them for burley. Tossing those tail sections over the side creates a scent trail that leads the fish straight to your main hook. If I’m using pilchards, I don’t even use a knife—I prefer to tear them so the edges look ragged and natural. For a frozen slimy, however, a sharp buck knife is essential.
The “Angled Cut” Secret in Snapper Rigging
The most important part of this Snapper Rigging Guide is the way you cut the bait. You don’t just hack it in half. You want to look for the area right down the back and cut forward through the meat on an angle.
This angled cut opens up the gut cavity. Why does that matter? It lets all the natural juices, oils, and smells out into the water column. A snapper’s nose is its greatest tool, and by exposing the gut cavity, you are sending out a massive “eat me” signal. Don’t waste the offcuts either; use those scraps for bottom bashing on a paternoster rig to catch pike or other live baits.
Hook Placement for Maximum Success
Once the bait is prepped, it’s time to rig the hooks. In this Snapper Rigging Guide, I recommend running your two snelled hooks in different directions.
- The Back Hook: Gently pierce the hook under the skin and down into the flesh. Don’t worry about the hook sticking out too far. Snapper are bottom feeders—they eat crabs, shellfish, and spiky things all day. They aren’t hook-shy.
- The Front Hook: I generally go through the nose or the eye. I find the nose bone is a bit harder and holds the bait securely during a long drift.
By facing the hooks in opposite ways, you significantly increase your hook-up rate. Whether the fish grabs the bait from the side or swallows it head-first, one of those points is going to find a home.
Final Thoughts on the Snapper Rigging Guide
This is a deadly rig for big reds, but it’s also accounted for some massive Jewfish (Mulloway) and Cobia. When that sinker gets down deep and your bait is wafting naturally with the gut cavity exposed, anything can happen.
If you stick to the principles in this Snapper Rigging Guide, you’ll find your catch rate on the close reefs improves overnight. It’s a simple, “Old School” way of doing things that just plain works.
Always ensure you are fishing within the official QLD recreational fishing rules to help keep our reefs healthy. Stay tuned for next week’s video where I’ll be dropping more tips from the shed!
More Aussie Fishing Guides & Resources
Looking for more practical fishing tips? I’ve put together a growing collection of Shannons Fishing resources, including downloadable PDF guides, cheat sheets, rigs, bait tips, and step-by-step fishing advice made for Aussie fishos.